How do you fix crumbling brick mortar?
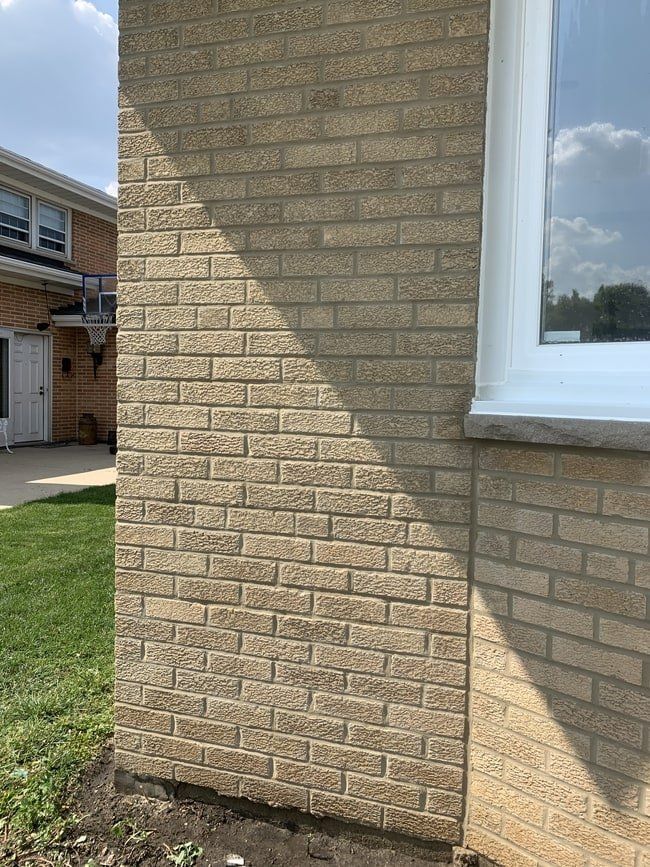
Due to the attractiveness and durability of bricks, it has withstood the test of time and is still of the most popular masonry material in the present time. However, like most materials used in construction, bricks are extremely porous and are known to absorb moisture which is, unfortunately, its greatest enemy. When bricks are constantly exposed to water, they will eventually weaken and crumble. The best way to fix crumbling mortar is by doing a process called repointing and applying a sealant on its surface. This procedure can be efficiently done by an experienced mason or by yourself.
Repointing can fix the crumbling mortar
The most common way of repairing your crumbling brick mortar is by doing repointing. Repointing is one of the best solutions for the damaged mortar that is usually done by experienced masons. Though hiring a professional can save you time and money, it is understandable for a homeowner to want to do the repointing themselves.
To get the repointing process started, you will most likely need the following tools:
Materials, Mortar mix, Protective gear (Safety glasses, rubber gloves, and dust mask), Flat chisel, 5-in-1 Painter’s Tool, Hammer, Angle grinder, Brick jointer, Tarp or old cloth, Stiff-bristled brush, Garden hose, Pointing trowel, Air compressor, Broom
Procedure
Step 1: Scrape your wall to remove the old mortar
Before putting your new mix, you will need to remove your damaged mortar joints first. Make sure that you are removing the old joints one at a time or you will probably weaken the integral structure of your whole brick wall. To start, wear your protective gear such as your rubber gloves, safety glasses, and a dust mask to prevent inhalation of harmful particles. If you are doing your repointing indoors, you can line your floor with a tarp or old cloth for easier cleanup.
Focus on one area and use your flat chisel and hammer to tap wider joints. For smaller joints that are too narrow in-depth, you can use a flat chisel, a 5-in-1 painter’s tool, or grout with a solid carbide tip to gently remove the old mortar.
If your brick walls are big in area and doing the scraping by hand is taking too long and is too much work for you, can use an angle grinder to speed up the process. However, if you are a beginner, using an angle grinder is not recommended as you can damage your bricks further by possibly cutting them when you do not have total control of the machine.
Step 2: Clean the joints and hydrate your wall
When you are done with the scraping of the old material, get your hard-bristled brush and use it to sweep the dust off your joints and the surface of your wall. You can also use an air compressor to remove the dust that has accumulated on your walls’ corners. After sweeping, you will need to use your garden hose to wet your brick to hydrate it. This process makes your new mortar joints stronger as it will make the mix cure properly when its moisture is not being sucked out by the old brick joints.
After evenly wetting your wall with your garden hose, leave your wall and continue the work on the next day to make sure that the brick has already been hydrated with the moisture from your hose and will not get the moisture from the new mortar.
Step 3: Mix the new mortar
Before you started the whole process of repointing, it is crucial to know what kind of mix you are using and if it is compatible with your old brick mortar. This is because using the wrong one can be detrimental to your existing wall and will eventually cost you more to repair and replace. For structures that are more than 50 years old, it is highly possible that your brick is made with sand and lime, while structures that are less than 50 years old, it would probably be made using the standard Portland cement. Make sure that the mix you are buying will fit your existing brick wall.
To properly do the mixing, do the necessary steps that are included on the bag and follow the instructions correctly and properly with great care. It is better to make your mix in smaller batches so that it will not harden fast especially if you are still adjusting to the whole process. This will make your mix be consistent and is a very cost-effective way to make your mortar mix. When you make your mix in smaller batches, you will also not need to “retemper” the mix as much, which is the process of adding water to the batch when it is hardening and drying up after a couple of hours.
Step 4: Place the new mortar
In order for you to start your repointing, mist your walls again to help reinforce the new mortar by making sure it will not dry out too quickly. Get your trowel to pick the mortar mixture up and use a small one such as a pointing trowel to insert the mortar to the joints. Fill your horizontal joints first and then work your way until it is finished to start filling your vertical joints.
Make sure that you are packing the new mortar into the old one tightly so that it will be compact. You can do this by pushing the new mortar deep into the crevices by using your trowel and removing the excess with its flat edge to make the surface smooth and to remove the unwanted smears from the brick’s surface. Use a brick jointer to make the new mortar appear like your old one.
Step 5: Brush your brick wall
After placing the new mortar, wait for an hour for the mortar to harden, then use your stiff-bristled brush to remove the excess mortar that has dried up on your brick’s surface. To properly do the brushing, use horizontal sweeps to not damage your new mortar.
Step 6: Clean up and maintenance
Sweep off the hardened mortar that has fallen on your floors then get your tarp and cover the areas with fresh mortar to not let it be exposed to extreme weather and temperature. To maintain the integrity of the mortar and to allow it to cure properly, mist it with water daily for the next 3 to 7 days for the mortar to not dry out fast.
How to maintain the mortar by applying sealants
One of the main reasons why your brick mortar is crumbling is due to constant exposure to moisture. This is what usually causes the crumbling mortar to happen with exterior brick walls, and is usually remedied by applying a sealant or water repellant to the surface of your brick. When you have already repointed your structure but want extra protection for your brick, it would be best to apply a sealant.
Materials :
Hard-bristled brush
Old rag or cloth
Garden hose
Paint tray and paint roller
Step 1: Clean your brick surface
Before starting, wear your protective gear such as your safety glasses, dust mask, and rubber gloves, then sweep off the dust that has accumulated on the surface of your brick and in between the mortar joints. Wipe the surface with a damp cloth and then a dry one, then wait overnight to make the surface soak in the moisture.
Step 2: Apply the sealant
Make sure that the sealant is compatible with your existing brick before applying. Place the sealant into a paint tray and use a roller to apply the sealant on your brick’s surface. Let it dry overnight and then apply a second coat for better protection against moisture.